So for my upcoming Cosplay I had to come up with something that resembles the hat Bombshells Catwoman wears.

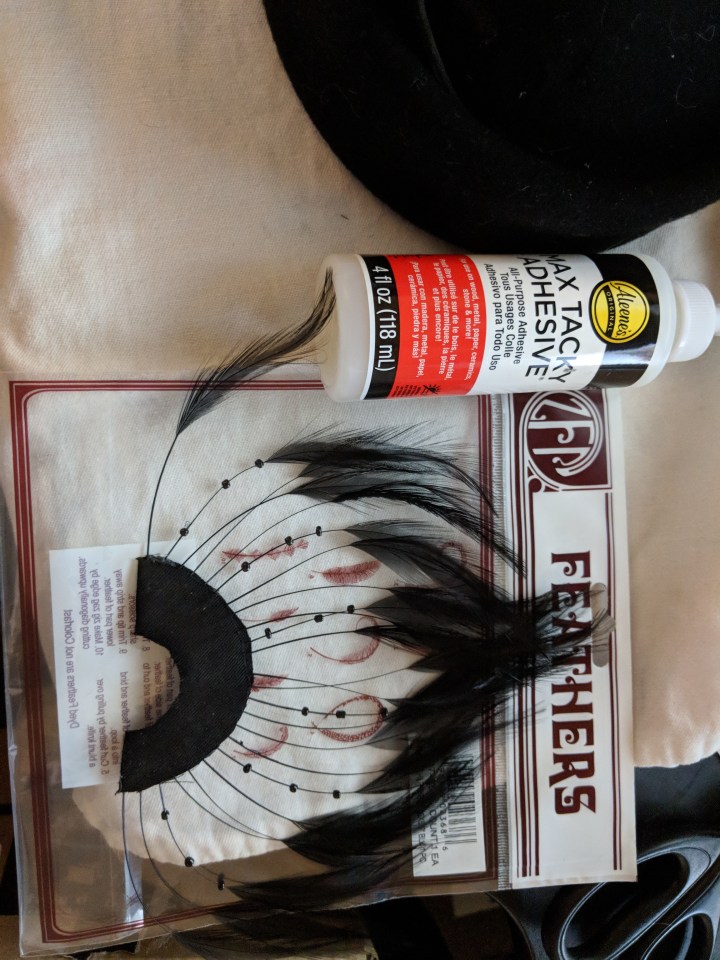
Materials: Felt, craft foam (with sticky back), glue, scissors, pillbox hat, feathers (pre-beaded)
We started with a plain pillbox hat, and a sheet of felt. Cutting two corners off the felt to create “cat ears” – I forgot to round the tips at this stage, which would make things tricky later.
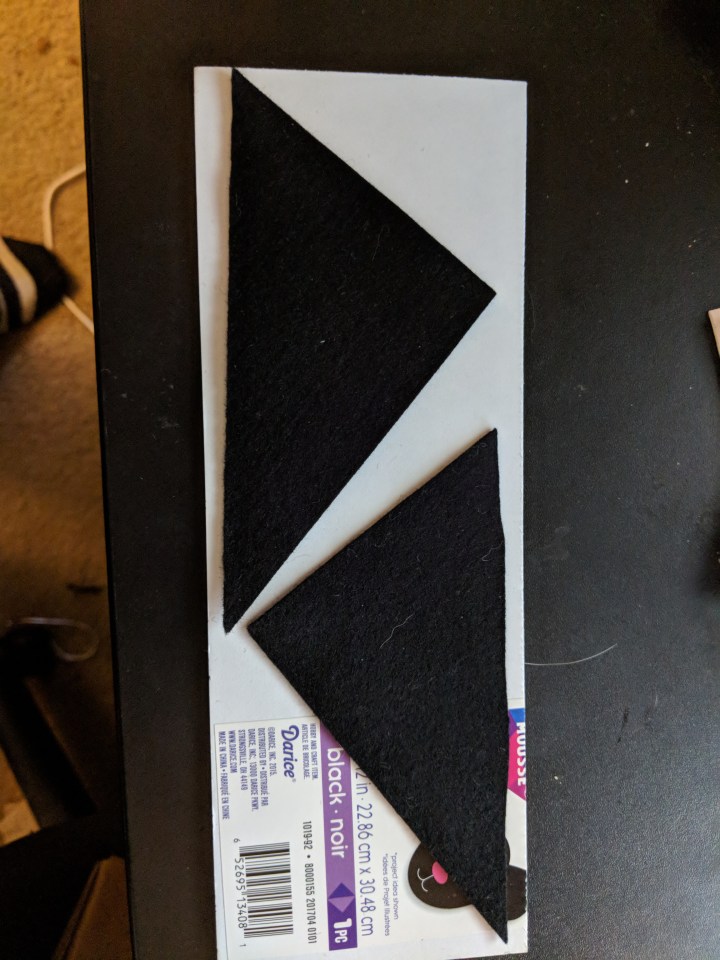
The foam had a sticky side, so I was able to apply the felt directly to the foam without having to glue it myself. This was great, because all I had to do was trim the sticky foam around the felt. This was terrible, because sticky sticks to scissors. The foam made the felt stable enough to stand up, but because it was thin it was still flexible enough to curve around the brim of the hat.


I was quite happy with the result, and how well they stayed in place as I tested the placement situation. This is when my helper got involved: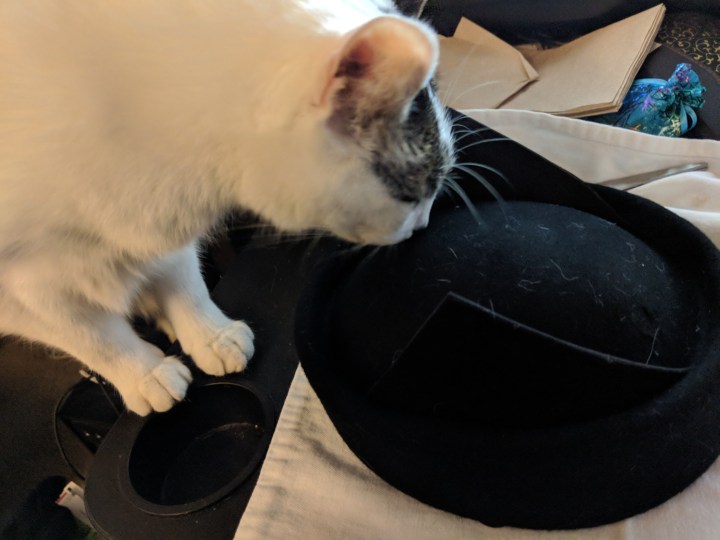
Eventually “helper” Pixie got exiled from the room.

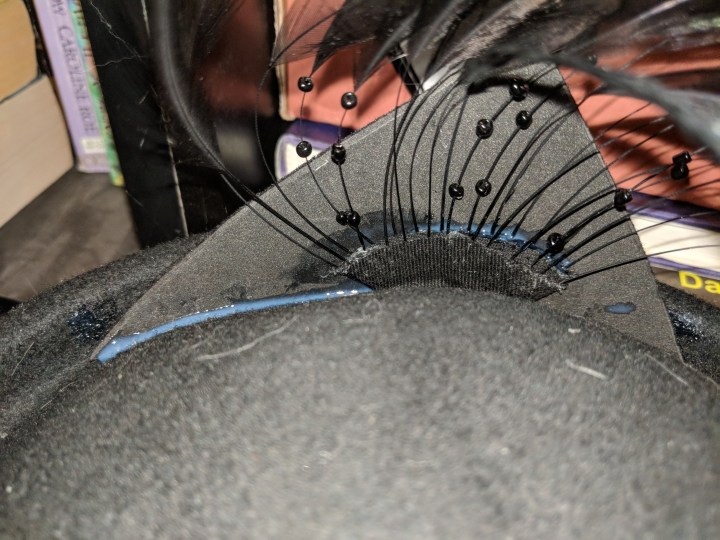
A little glue to fix my ears in place. This was also a time to cover the glue-spot from the removal of the net veil (the hat came with a very fine veil, but it’s placement would not have allowed for the ears) with a black paint marker. The color is still slightly off under the light of the flash, but it was the best we had. Letting the glue set for two hours made the left ear totally attached. I discovered, though, while adding feathers to the right side that it wasn’t fixed as nicely. Oops.
The feather arc was too wide and spread out too thinly, so I decided to fold it in half and double up the thickness – making it more of a tuft in theory. This only worked a little. The full feather spread looked absurd, though:
As compared to:
I still think it’s too wide and not bundled enough, but I decided post-gluing, so this is what I have.
This is with the extra glue to re-attach the ear to the hat – this time after 2 hours of setting it held much better. I was too conservative with glue apparently to start. The folded feather set, even glued, did not stay together well until I stuck it together with a bobby pin to hold it until the glue set. Victory!

After the glue dried, I used the lint brush to remove some of my “helper’s” evidence of help. Yes, it’s a cat-hat, but she’s white and the hat is not. She thought the feathers made it a toy for her, so she kept leaping at it. Next step was to let it set for 24+ hours to ensure the glue was really-really set. Okay, so I’m paranoid (and it was in the glue instructions).

This is when I realized that I failed to round the ears… big oops! So after the 24 hour set, me and a pair of full sized scissors (I should have used my curved nail scissors – I only realized that just now, in fact) carefully shaped the left ear successfully. My lovely spouse said I should “dock” the left ear so that everyone could know I was fixed – that was about the extent of his help. Laughing while cutting is not a good combo, but I did it.
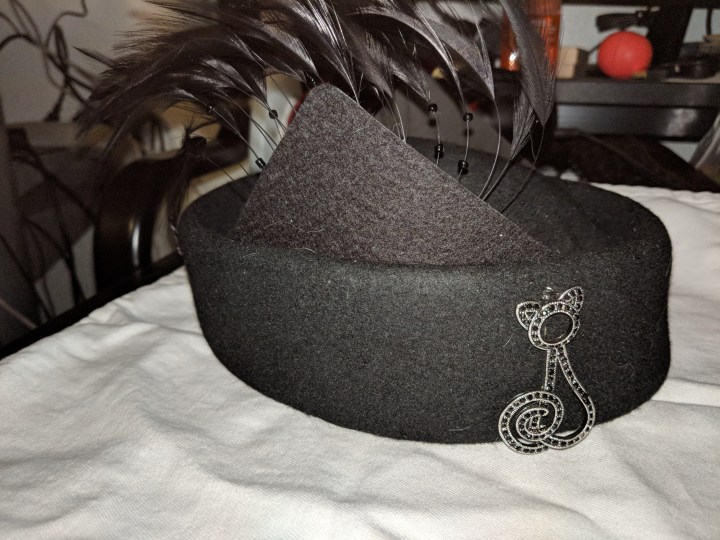
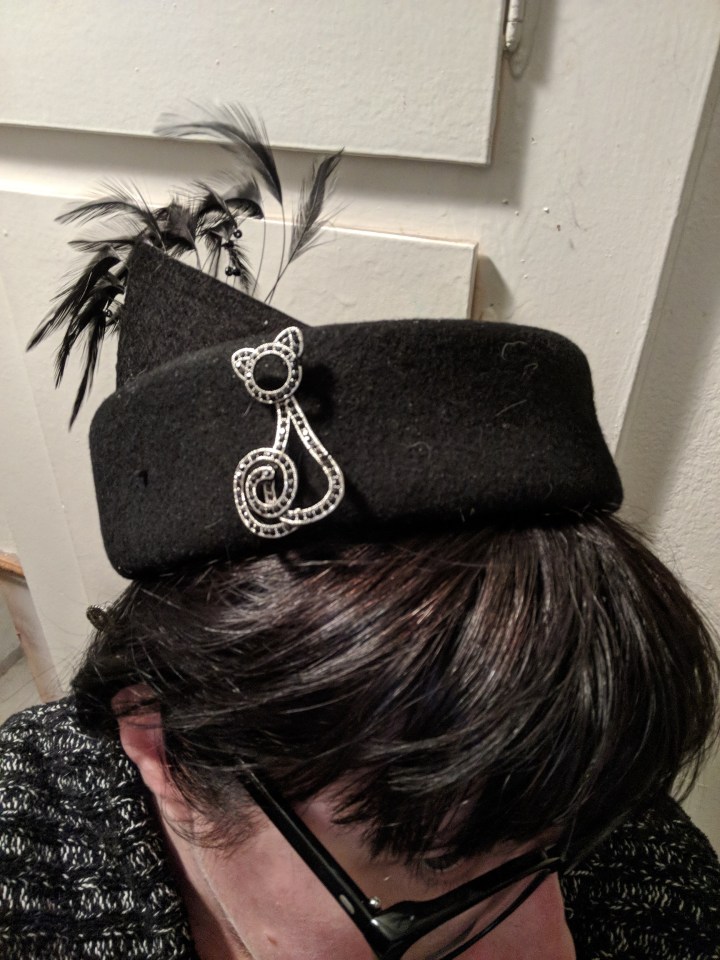
I trimmed the right ear, and it’s not an exact match, but close enough. Then added the pin (harder than I thought as the cheap pin kept trying to bend until I sent it up through the felt of the hat, in and out, instead of all the way inside the felt and back out the full thickness). It went a bit further forward than I wanted, but I didn’t want to risk bending the pin via another pass, so it was acceptable. I’d considered gluing it in place, to prevent mishaps, but because my my placement concerns I didn’t want to commit that hard.

And then, it was done!